Car Water Hose Plastic Clamps – Installation Guide
Plastic clamps for car water hoses play a crucial role in maintaining the integrity of the cooling system. Proper installation…
Plastic clamps for car water hoses play a crucial role in maintaining the integrity of the cooling system. Proper installation of these clamps ensures that hoses remain securely attached, preventing leaks and potential damage to the engine. In this guide, we will walk you through the steps to install car water hose plastic clamps correctly.

1.Tools You Will Need
Before starting the installation process, make sure you have the following tools on hand:
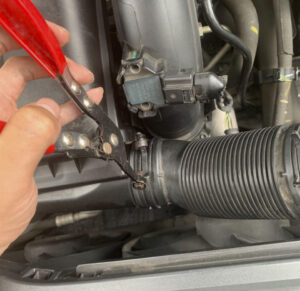
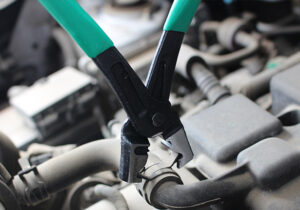
A pair of pliers. This will be used to tighten the clamps.
A screwdriver (if the clamps have a screw – type mechanism).
2.Preparation
1.Inspect the Hoses and Clamps
Check the water hoses for any signs of damage, such as cracks, holes, or wear. If the hoses are damaged, they should be replaced before installing the new clamps.
Examine the plastic clamps to ensure that they are in good condition. Look for any broken parts or deformities.
2.Position the Hose
Locate the connection point where the water hose needs to be attached. This could be to the radiator, the engine block, or another component of the cooling system.
Ensure that the hose is properly aligned with the fitting. It should fit snugly without any twists or kinks.
3.Installation of the Plastic Clamps
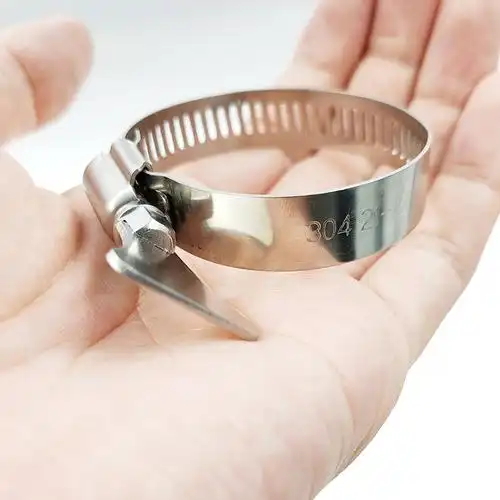
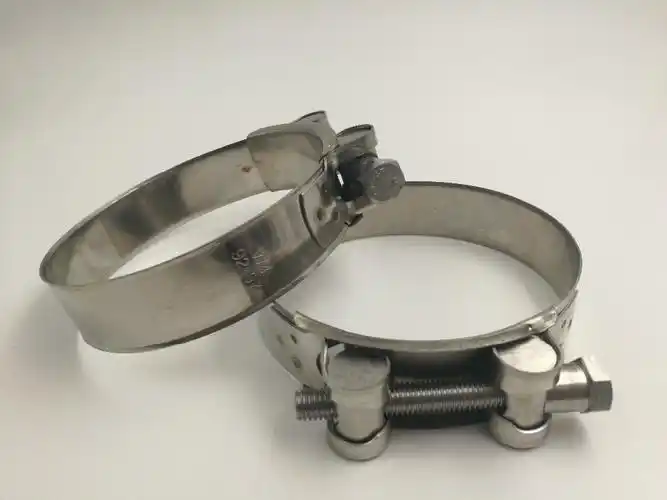
1.For Screw – type Plastic Clamps
Place the clamp around the hose, just before the connection point. Make sure that the screw portion of the clamp is easily accessible.
Using a screwdriver, turn the screw clockwise to gradually tighten the clamp. As you tighten, check that the hose is being compressed evenly around the fitting. Do not overtighten, as this can damage the hose. Tighten until the hose is firmly held in place, but still allows for a bit of flexibility.
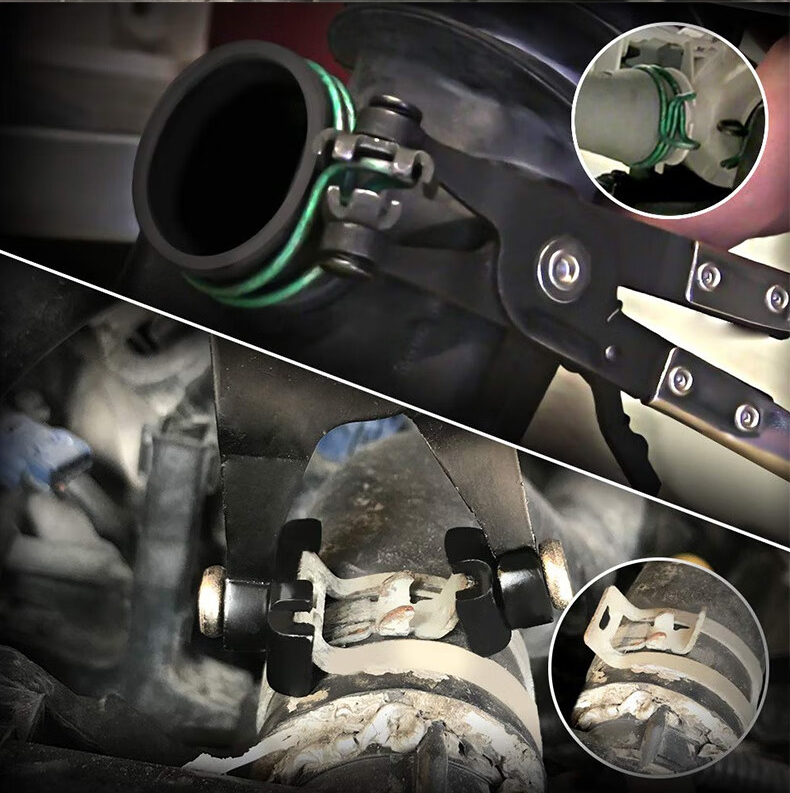
2.For Snap – on Plastic Clamps
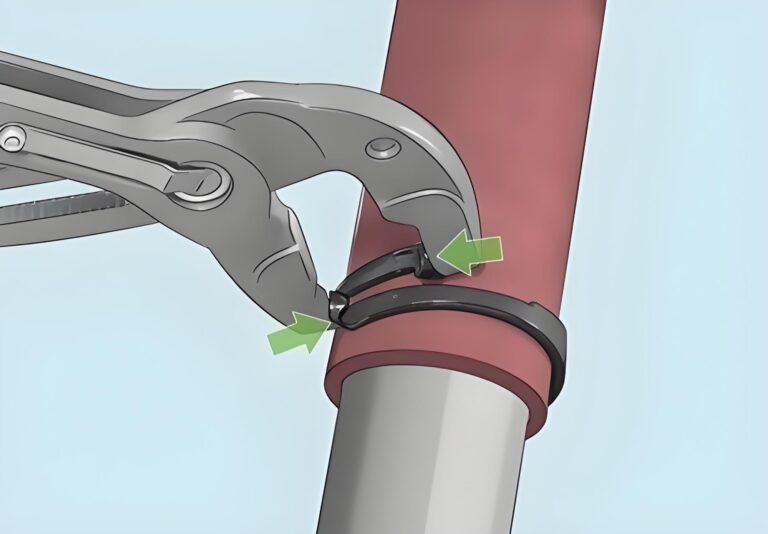
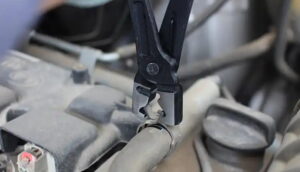
Open the clamp by squeezing the two ends together (if it has a spring – loaded or snap – on design).
Slide the open clamp over the hose and onto the connection point. Position it so that it is centered and covering the area where the hose meets the fitting.
Release the clamp, allowing it to snap back into place and grip the hose tightly. You may need to use pliers to ensure a proper snap and tight fit.
4.Post – installation Check
1.Visual Inspection
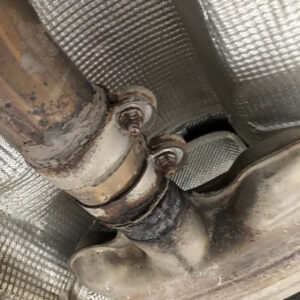
Once the clamps are installed, visually inspect the connection again. Look for any signs of the hose slipping out of the clamp or any visible gaps between the hose and the fitting.
3.Test for Leaks
Start the engine and let it run for a few minutes. Keep an eye on the water hose connections. Look for any signs of coolant leakage. If you notice any leaks, turn off the engine immediately and recheck the tightness of the clamps. If the leak persists, there may be an issue with the hose or the connection that requires further investigation.
By following these steps, you can ensure the proper installation of car water hose plastic clamps, helping to maintain the efficiency and reliability of your vehicle’s cooling system.
Problems and Solutions
Problem: The hose slips out of the clamp
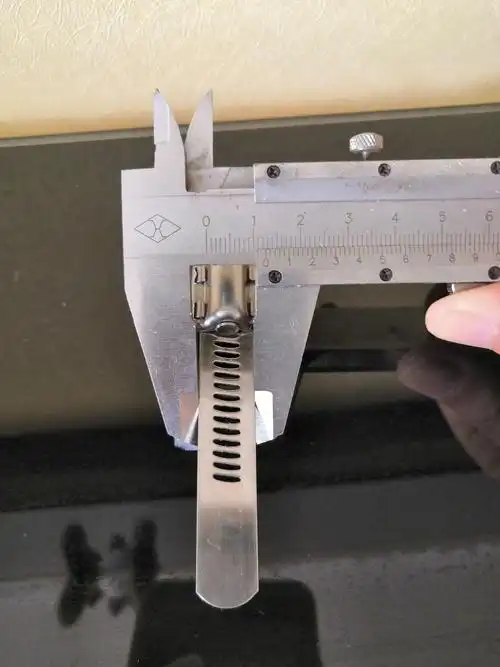
Cause: The clamp may not be tightened enough, or the wrong size clamp is being used.
Solution:
If the clamp is a screw-on style, use a screwdriver to tighten further, but be careful not to overtighten and damage the hose. Check that the hose is evenly compressed around the fitting.
If the clamp is a snap-on style and the hose is slipping, try using pliers to squeeze the clamp more firmly onto the hose. If this doesn’t work, consider replacing the clamp with an appropriately sized clamp.
Problem: Difficulty tightening the clamp
Cause: For screw-on clamps, the screw may be damaged or there may be debris in the threads. For snap-on clamps, they may be stiff or damaged.
Solution:
For screw-on clamps with damaged screws, try replacing the clamp. If there is debris, clean the threads with a small brush or compressed air to remove any dirt or foreign matter.
For stiff snap-on clamps, lubricate the moving parts with a small amount of silicone-based lubricant if possible. If the clamp is damaged, replace it.
Problem: Hose damaged during installation
Cause: Overtightening of the clamp, use of sharp tools during installation, or rough edges on the clamp.
Solution:
If the hose is slightly damaged, it may be possible to repair it with a hose repair kit. However, if the damage is severe, the hose should be replaced.
Make sure to use tools carefully and that the edges of the clamps are smooth. When tightening, follow the recommended torque or tightness to avoid over-compression of the hose.
Problem: Leaking after installation
Cause: The clamp may not be sealing properly, the hose may have holes or cracks that were not noticed during inspection, or the connection between the hose and the fitting may not be correct.
Solution:
Recheck the tightness of the clamp. If the leak persists, carefully inspect the hose and connection points for any signs of damage. If holes or cracks are found, replace the hose.
Before installing the clamp, make sure the hose is properly aligned with the connector. If the alignment is not accurate, readjust the hose and reinstall the clamp.
Problem: The clamp broke during installation
Cause: The clamp may be of poor quality or damaged during handling.
Solution:
Replace the damaged clamp with a new one of better quality. When purchasing clamps, choose clamps from reliable manufacturers. Avoid dropping or bending the clamp during handling to prevent damage.