How to attach hose clamp to wood
When it comes to DIY projects or certain practical applications, you might find the need to attach a hose clamp…
Understanding the Hose Clamp and Its Purpose
Tools and Materials You’ll Need
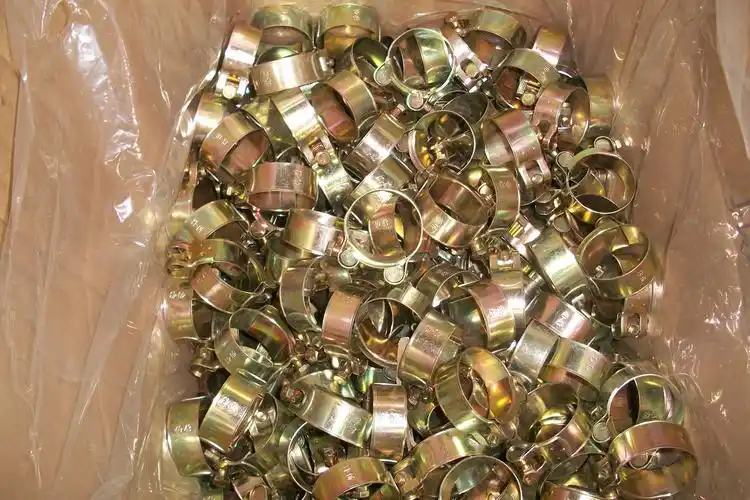
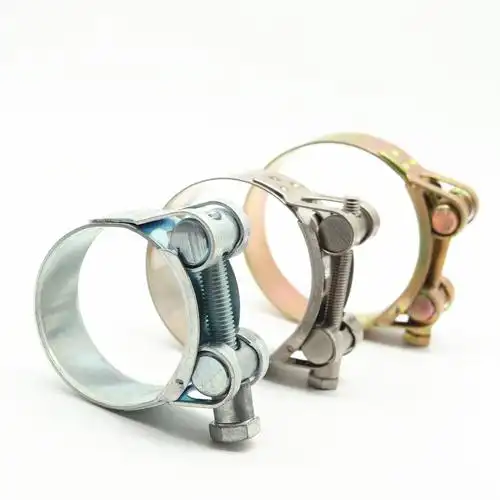
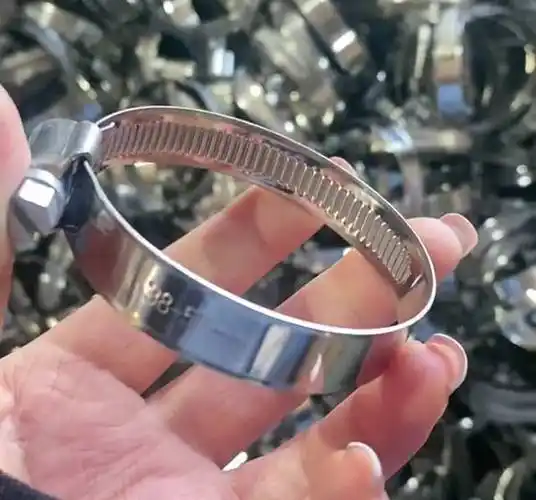
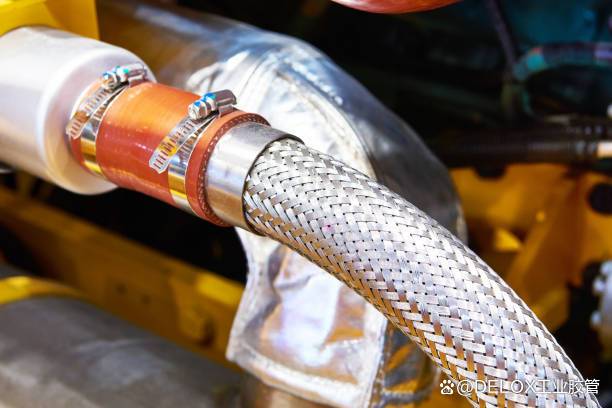
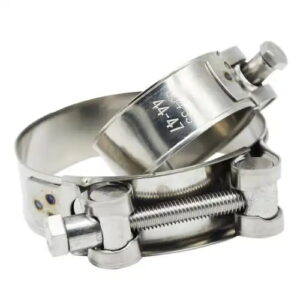
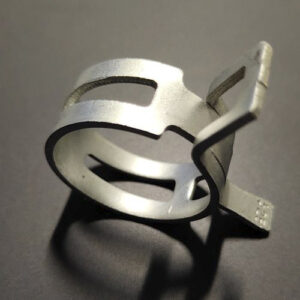
1.Hose Clamps: Select the appropriate size and type of hose clamp for your application. There are different widths and diameters available, so make sure it fits snugly around the wood or the object you plan to attach it to. Stainless steel hose clamps are often a good choice due to their durability and resistance to rust.
2.Wood: Ensure the wood is clean, dry, and free from any debris or rough edges. If necessary, sand the surface where the clamp will be attached to create a smooth contact area.
3.Screwdriver or Nut Driver: Depending on the type of hose clamp, you’ll need either a flathead or Phillips screwdriver, or a nut driver. This tool is used to tighten the screw on the hose clamp, securing it in place.
4.Drill and Drill Bits: In some cases, you may need to pre-drill holes in the wood. A drill with the right-sized drill bits is essential. The drill bit size should match the diameter of any screws or bolts you plan to use in conjunction with the hose clamp.
5.Screws or Bolts: If the hose clamp alone doesn’t provide a secure enough attachment, you can use screws or bolts. Choose ones that are appropriate for the wood thickness and the load the clamp will bear. For example, if it’s a light-duty application, small wood screws might suffice, but for heavier loads, you’ll need stronger bolts.
6.Washers: Washers can be used to distribute the pressure evenly when tightening screws or bolts. They prevent the wood from splitting and ensure a more stable connection.

Preparation Steps
1.Measure and Mark: Before attaching the hose clamp, carefully measure where it needs to go on the wood. Use a ruler or measuring tape and mark the position with a pencil. This accuracy is crucial to ensure proper alignment and functionality.
2.Clean the Wood: As mentioned earlier, remove any dirt, dust, or loose particles from the wood surface. You can use a brush or a damp cloth for this. If there is any old finish or paint that might interfere with the attachment, consider sanding it off gently.
3.Check the Hose Clamp: Inspect the hose clamp for any defects or damage. Make sure the screw mechanism turns smoothly and that the band is not bent or distorted. If needed, adjust the clamp to its open position, ready for installation.
Methods of Attachment
Direct Screw Attachment
1.Position the Hose Clamp: Place the hose clamp at the marked location on the wood. Align it so that it sits evenly and is parallel to the edge or the direction you want it to be oriented.
2.Insert the Screw: If the hose clamp has a screw, insert it through the hole in the clamp and into the wood. Make sure the screw is centered and perpendicular to the wood surface. If the wood is hard, you might need to pre-drill a pilot hole to prevent the wood from splitting.
3.Tighten the Screw: Using the appropriate screwdriver or nut driver, turn the screw clockwise to tighten the hose clamp. Apply gradual pressure and check the tightness as you go. You don’t want to over-tighten and damage the wood or strip the screw threads, but it should be snug enough to hold the clamp firmly in place.
Using Bolts and Washers
1.Drill Holes: If you’re using bolts, drill holes in the wood at the marked positions. The holes should be slightly larger than the diameter of the bolts to allow for easy insertion. Use a drill bit size that is appropriate for the bolt size you have chosen.
2.Insert Washers and Bolts: Place a washer on each side of the wood where the hole is. Then, insert the bolt through the hose clamp and into the drilled hole in the wood. The washer on the outside of the wood will help distribute the load and prevent the bolt head from digging into the wood.
3.Tighten the Bolts: Use a wrench or socket set to tighten the bolts. Similar to screwing, do this gradually and check the tightness. Make sure the hose clamp is held securely and that the wood is not being compressed too much, which could lead to splitting.
For Decorative or Light-Duty Applications
1.Gluing: In some cases where the load is minimal and appearance matters, you can use a strong adhesive to attach the hose clamp to the wood. Apply the glue evenly to the back of the clamp or the wood surface where it will make contact. Press the clamp firmly in place and hold it for the recommended drying time of the adhesive. This method is not suitable for applications where the clamp will be subject to significant stress or movement.
2.Using Double-Sided Tape: Another option for light-duty and decorative use is double-sided tape. Cut a piece of tape to the appropriate length and attach it to the back of the hose clamp. Then, carefully position the clamp on the wood and press it down firmly. This provides a quick and clean attachment, but again, it’s only for non-critical applications.

Tips and Considerations
1.Weight and Load Capacity: Consider the weight or force that will be exerted on the hose clamp and the wood connection. If you’re attaching something heavy or that will experience vibrations or movement, choose a more robust attachment method, such as bolts, and ensure the wood is of sufficient strength.
2.Environmental Factors: If the attached assembly will be exposed to moisture, extreme temperatures, or other harsh environmental conditions, take appropriate measures. Use corrosion-resistant materials like stainless steel hose clamps and consider treating the wood to protect it from water damage.
3.Aesthetic Appeal: In woodworking projects where the hose clamp is visible, think about how it will look. You can choose a hose clamp with a finish that complements the wood, or you can paint or stain the clamp to match the overall aesthetic. Additionally, when using screws or bolts, make sure they are not overly prominent and detract from the appearance.
4.Regular Inspection: Once the hose clamp is attached, periodically check its tightness and the condition of the wood. Over time, vibrations, temperature changes, or other factors could cause the clamp to loosen or the wood to deteriorate. If you notice any issues, address them promptly to maintain the integrity of the attachment.
Problems encountered and solutions
Wood cracking problem:
Problem description: When using screws or bolts to fix the hose clamp directly to the wood, if too much force is applied or the wood itself is brittle, the wood may crack, which not only affects the appearance but also weakens the stability of the fixation.
Solution: First, before screwing in the screws or bolts, pre-drill holes in the wood with a drill bit slightly smaller than the diameter of the screws or bolts to reduce the risk of wood cracking when stressed. Second, choose screws or bolts of appropriate length to avoid excessive penetration of the other side of the wood and unnecessary pressure. In addition, washers can be placed where the screws or bolts contact the wood. Washers can disperse pressure and further reduce the possibility of wood cracking.
Problem of hose clamp not being firmly fixed:
Problem description: Sometimes, even though the hose clamp has been installed on the wood, it may not be firmly fixed on the wood due to reasons such as uneven wood surface, inappropriate hose clamp size or insufficient tightening, and it is easy to loosen or even fall off, which is unacceptable for application scenarios that require stable connection.
Solution: If the wood surface is uneven, you can use sandpaper to polish the wood surface before installation to make it flat and smooth to ensure that the hose clamp can fit tightly. For the problem of inappropriate hose clamp size, carefully measure the size of the part to be fixed and select a hose clamp of appropriate specifications. When tightening the hose clamp, use appropriate tools (such as a screwdriver or nut wrench) and tighten evenly in the correct direction to ensure sufficient tightening, but also be careful to avoid over-tightening to damage the hose clamp or wood.
The problem of wood deformation due to moisture affecting fixation:
Problem description: In some humid environments, wood may absorb moisture and deform, which will loosen the originally fixed hose clamp, affecting its fixing effect and the stability of the overall device, especially for applications in a humid environment for a long time, such as outdoor water pipes connected to wooden brackets.
Solution: First, waterproof the wood. You can use waterproof paint, preservatives and other coatings to apply on the surface of the wood to form a protective film to reduce the contact between the wood and moisture. Secondly, choose wood species that have been waterproofed or have good moisture-proof properties, such as cedar. In addition, check the condition of the wood regularly. Once there are signs of moisture deformation, take timely measures to repair or replace the affected parts, and readjust and tighten the hose clamp to ensure its reliability.