How to remove spring hose clamps without tool
1. Why do I need to remove the spring hose clamp? Spring hose clamps are often used to connect hoses…
1. Why do I need to remove the spring hose clamp?
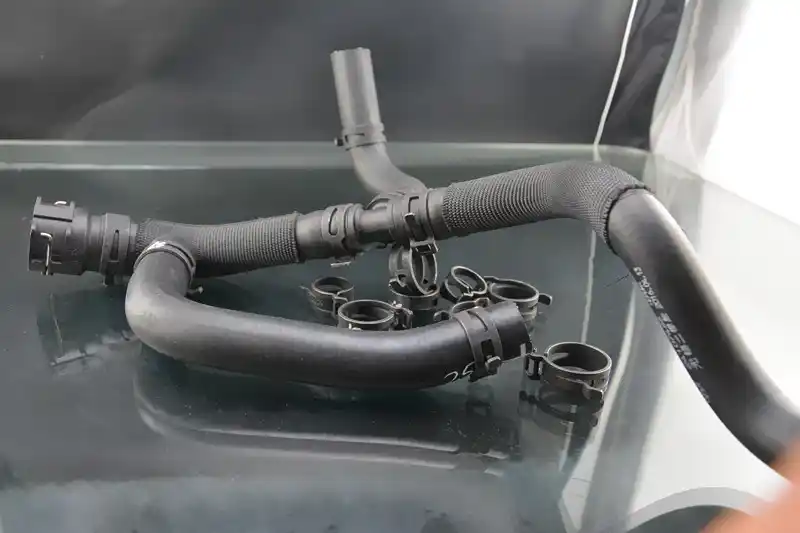
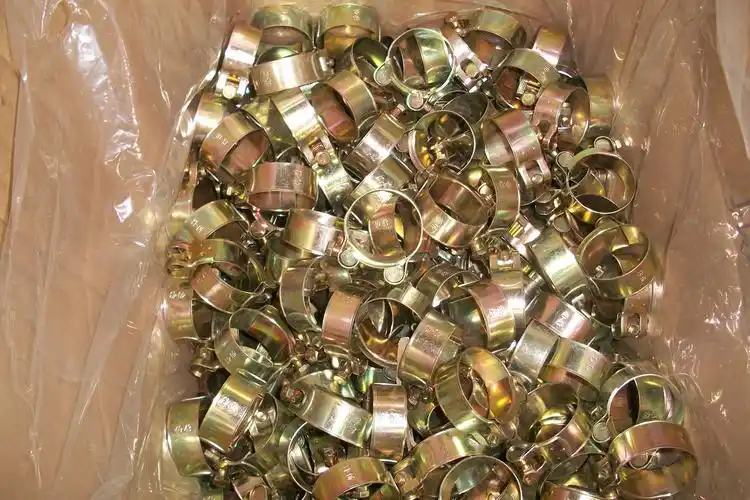
Spring hose clamps are often used to connect hoses and pipes such as water pipes and oil pipes to seal and fix them. In situations such as repairing water pipe leaks, replacing damaged hoses, and clearing clogged pipes, spring hose clamps need to be removed. However, many people do not always have special tools for removing spring hose clamps at home, which requires us to master the method of tool-free removal.

2. Is it safe to remove the spring hose clamp without tools?
As long as the method is correct, it is safe to remove the spring hose clamp without tools. However, before disassembly, make sure that the medium (such as water, oil, etc.) in the hose has been emptied or the valve is closed to avoid sudden spraying of the medium and causing injury. At the same time, pay attention to protecting your hands during the operation to prevent scratches or pinching by the spring clamp.
3. What preparations need to be made before removing the spring hose clamp?
Although there are no tools, some preparation work is still required. First, prepare a clean rag to wipe the possible residual medium and prevent slipping when fixing the hose; second, find a suitable working environment, ensure sufficient light and spacious operating space, and avoid operating in a small or messy place, which will affect the disassembly effect.
4. What are the methods for removing spring hose clamps without tools?
Method 1: Freehand stretching
Operation steps: First find the opening of the spring hose clamp, which is usually a small notch. Use the thumb and index finger of both hands to pinch the metal wires on both sides of the spring clamp opening, and slowly and forcefully stretch the spring clamp outward to increase its diameter. While stretching, the other hand can help to slowly pull the hose out of the pipe fitting. Note that the force should be uniform during stretching to avoid excessive force that may cause deformation or damage to the spring clamp.
Applicable scenarios: Suitable for spring hose clamps with soft materials, moderate elasticity, not long in use, and no severe rust.
Method 2: Use a hard object nearby to pry
Operation steps: If it is difficult to stretch it by hand, you can find a suitable hard object around you, such as a screwdriver (if you have one at home but it is not considered a tool), a key, a nail clipper, etc. Insert the tip of the hard object into the opening of the spring hose clamp, and then use the pipe as a fulcrum to gently pry the spring clamp to loosen it. Be careful when prying and do not scratch the hose. When the spring clamp is loose, try to stretch it by hand or pull it out directly.
Applicable scenarios: For some tight or hard spring hose clamps, this method can be used when it is difficult to stretch it by hand.
Method 3: Thermal expansion and contraction method
Operation steps: If the spring hose clamp is difficult to remove due to rust or too tight, you can try the thermal expansion and contraction method. Pour hot water on the connection between the spring hose clamp and the hose to allow the metal to expand due to heat, thereby loosening the spring clamp. Note that the water temperature should not be too high to avoid damaging the hose. If it is a situation such as an oil pipe that cannot be exposed to hot water, you can use the hot air setting of a hair dryer to blow the spring clamp from a distance. After heating for a period of time, quickly rinse with cold water, use the temperature difference between hot and cold to further loosen the spring clamp, and then try to remove it.
Applicable scenarios: Applicable to spring hose clamps that are rusty or too tight due to long-term use.
5. What should I do if I encounter difficulties during the disassembly process?
If the spring hose clamp is particularly tight during the disassembly process and is difficult to disassemble no matter which method is used, you can try to apply some lubricant (such as cooking oil, if there is no professional lubricant at home) to the connection between the spring clamp and the hose, let the lubricant penetrate into the gap between the spring clamp and the hose to play a lubricating role, and then try to disassemble it after a period of time. In addition, you can also gently tap the pipes around the spring clamp to help loosen the spring clamp, but be careful to control the tapping force to prevent damage to the pipes and hoses.
6. What else should I pay attention to after successful disassembly?
After disassembly, carefully check the condition of the spring hose clamp and the hose. If the spring hose clamp is deformed, broken or damaged, replace it with a new one in time to ensure the tightness and firmness after reconnection. For the hose, check whether there is wear, aging or other problems, and replace it if necessary. When reinstalling a new spring hose clamp, ensure that the installation position is correct and the clamp is tightened appropriately to avoid leakage caused by too loose or damage to the hose by too tight.

One Comment