Oliver Radiator Hose Clamp Replacement-A Comprehensive Guide
The radiator hose clamp is a critical component in the cooling system of your Oliver tractor, ensuring the secure connection…
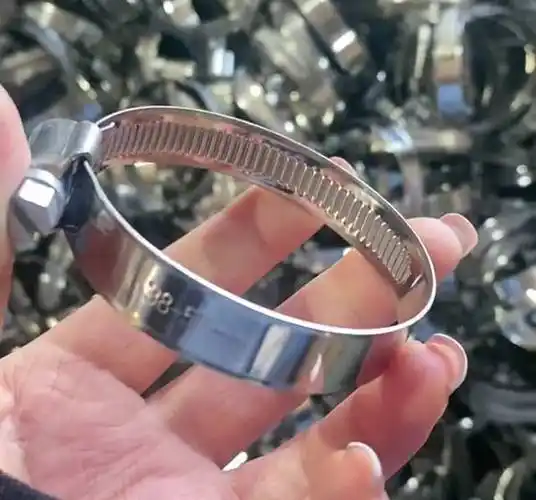
The radiator hose clamp is a critical component in the cooling system of your Oliver tractor, ensuring the secure connection of hoses to the radiator and engine. Over time, these clamps can corrode, weaken, or become damaged, necessitating replacement to maintain optimal performance and safety. This article provides a detailed guide on replacing the radiator hose clamp on your Oliver tractor.

Understanding the Importance of Radiator Hose Clamps
Radiator hose clamps play a vital role in preventing coolant leaks and maintaining the efficiency of your tractor’s cooling system. A damaged or loose clamp can lead to coolant loss, which in turn can cause the engine to overheat and potentially lead to serious damage.
Steps to Replace an Oliver Radiator Hose Clamp
1. Safety First
Before starting, ensure the tractor is parked on a level surface and the engine is cool to prevent burns and make the process safer. Always wear safety gloves and goggles to protect your hands and eyes from potential coolant spills or debris.
2. Consult the Service Manual
Refer to your Oliver tractor’s service manual for specific information regarding the cooling system, clamp type, and proper torque specifications. This information is crucial for a successful clamp replacement.
3. Locate the Radiator Hose and Clamp
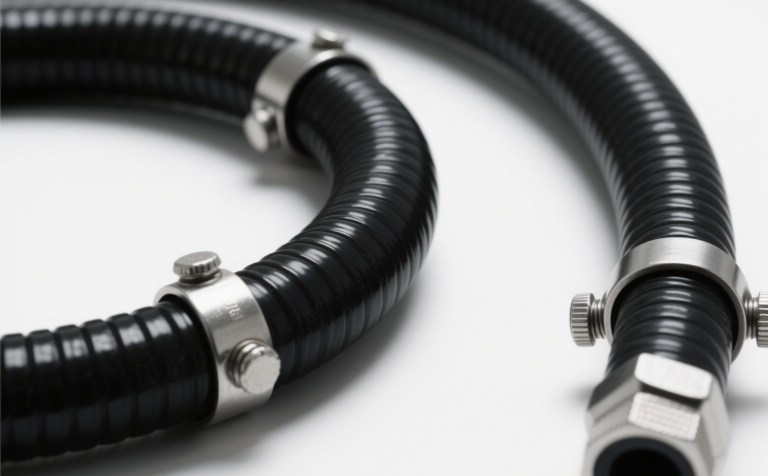
Open the hood and locate the radiator hose with the corroded or damaged clamp. There are usually two radiator hoses – an upper hose that connects the radiator to the engine and a lower hose that connects the radiator to the water pump.
4. Prepare for Coolant Spill
Place a coolant catch pan under the hose to collect any coolant that might spill during the clamp replacement process.

5. Loosen the Old Clamp
Depending on the type of clamp, use a screwdriver or socket wrench to loosen the corroded or damaged clamp. For spring-type clamps, use pliers or clamp pliers to compress the clamp and slide it away from the connection point.
6. Remove the Hose
Gently twist and pull the hose off the connection point. Be cautious, as coolant may spill out during this step.
7. Remove the Old Clamp
Slide the old clamp off the hose and discard it.
8. Install the New Clamp
Position the new clamp onto the hose, ensuring it is properly aligned with the connection point. For screw-type clamps, make sure the screw mechanism is easily accessible.
9. Reattach the Hose
Carefully slide the hose back onto the connection point, ensuring it is seated correctly.
10. Tighten the New Clamp
Using the appropriate tool, tighten the new clamp according to the manufacturer’s torque specifications found in the vehicle’s service manual.
11. Check for Leaks
Start the engine and allow it to reach operating temperature. Visually inspect the hose and clamp for any signs of leaks. If any leaks are detected, turn off the engine and further tighten the clamp or reseat the hose as needed.
12. Top Off Coolant
If any coolant was lost during the clamp replacement process, use a funnel to top off the coolant to the appropriate level, as specified in the owner’s manual.
13. Dispose of Used Coolant Properly
Collect any spilled coolant from the catch pan and dispose of it according to your local regulations.

Maintenance and Inspection
Regular maintenance and inspection of radiator hose clamps are crucial to ensure their continued effectiveness. Here are some tips for maintaining your clamps:
Visual Inspection: Periodically inspect the clamps for signs of wear or damage. Look for any cracks, rust, or other signs of deterioration.
Tightening: Over time, the clamps may loosen due to the vibrations from the tractor. Regularly check and tighten the clamps to maintain a secure connection.
Replacement: If the clamps show signs of significant wear or if they are no longer able to maintain a secure grip on the hose, replace them with new ones.
Professional Inspection: For peace of mind, especially in older tractors or if you are not confident in your ability to inspect and maintain the clamps, consider having a professional inspect your tractor’s cooling system regularly.
Replacing an Oliver radiator hose clamp is a critical maintenance task that ensures the efficiency and safety of your tractor’s cooling system. By following the steps outlined in this guide and adhering to the manufacturer’s recommendations, you can extend the life of your tractor and prevent costly engine damage due to overheating. Remember, regular inspection and maintenance are key to keeping your Oliver tractor running smoothly and reliably.

Problems encountered and solutions
1. The problem of old hose clamps being difficult to remove
Problem manifestation:
Old hose clamps may be difficult to loosen or remove due to rust, corrosion or long-term tightening. For example, the screws may not be turned with an ordinary screwdriver, or the clamps may have deformed and stuck on the hose.
Solution:
First, you can try to use penetrating lubricants, such as WD-40, spray it on the screws of the hose clamp and the place where it contacts the hose, and let it sit for a few minutes to allow the lubricant to penetrate into the gap to reduce friction and facilitate screwing. If the screws have been stripped, you can use a special screw removal tool, such as a broken wire extractor, to carefully remove the damaged screws from the clamp. For hose clamps that are severely deformed, you can use needle-nosed pliers or vises to try to slowly loosen or break the clamp without damaging the hose.
2. Improper installation of new hose clamp
Problem manifestation:
When installing the new hose clamp, it may not be correctly positioned at the interface between the hose and the radiator, resulting in a poor seal; or the tightening degree is not appropriate. Too loose will cause coolant leakage, and too tight may damage the hose.
Solution:
Before installing the new hose clamp, carefully clean the surface of the hose and radiator interface to ensure that there is no debris, dirt and old sealing material residue. Put the hose on the radiator interface correctly so that the two fit tightly, and then place the hose clamp in the appropriate position, generally about 1-2 cm away from the end of the hose. Use appropriate tools, such as a screwdriver or torque wrench (if it is a hose clamp that requires precise torque), to tighten according to the specified torque value. For ordinary worm-type hose clamps, you should feel appropriate resistance when tightening, but do not use excessive force. It is usually appropriate to tighten the hose so that it does not turn easily and the teeth of the clamp are tightly engaged.

3. Coolant leakage problem
Problem manifestation:
After replacing the hose clamp, start the equipment and find coolant leakage around the radiator. This may be due to the hose clamp not being installed tightly, the hose itself being damaged, or the sealing surface being uneven.
Solution:
First turn off the equipment, and check whether the hose clamp is tightened after cooling. If not, tighten it further in the correct way. If the hose is found to have scratches, cracks or other damage, a new hose needs to be replaced even if the hose clamp is replaced. Check the sealing surface of the radiator and the hose. If it is uneven, use sandpaper to gently polish it to make it smooth and flat before reinstalling the hose clamp and testing. At the same time, after the installation is completed, a pressure test can be performed. Use a special coolant pressure test tool to apply a certain pressure to the cooling system to observe whether there are any leaks, so as to find and solve the problem in time.
4. Tool mismatch problem
Problem manifestation:
During the replacement process, it was found that the prepared tools were not suitable for the specific model or size of the Oliver radiator hose clamp, such as the screwdriver head size was not right and could not turn the screw, or the pliers could not firmly clamp the clamp to operate.
Solution:
Carefully check the user manual of the Oliver equipment or consult the manufacturer to determine the exact specifications and models of the required tools. You can prepare a set of multi-functional tools, such as a tool set containing various sizes of screwdriver heads, wrenches, etc., to meet different needs. If there is no suitable tool on site, you can temporarily stop the operation and go to the hardware store to buy matching tools before continuing the replacement work.
By understanding and mastering these possible problems and solutions, you can complete the replacement of the Oliver radiator hose clamp more smoothly and ensure the normal operation of the radiator and the entire cooling system.